
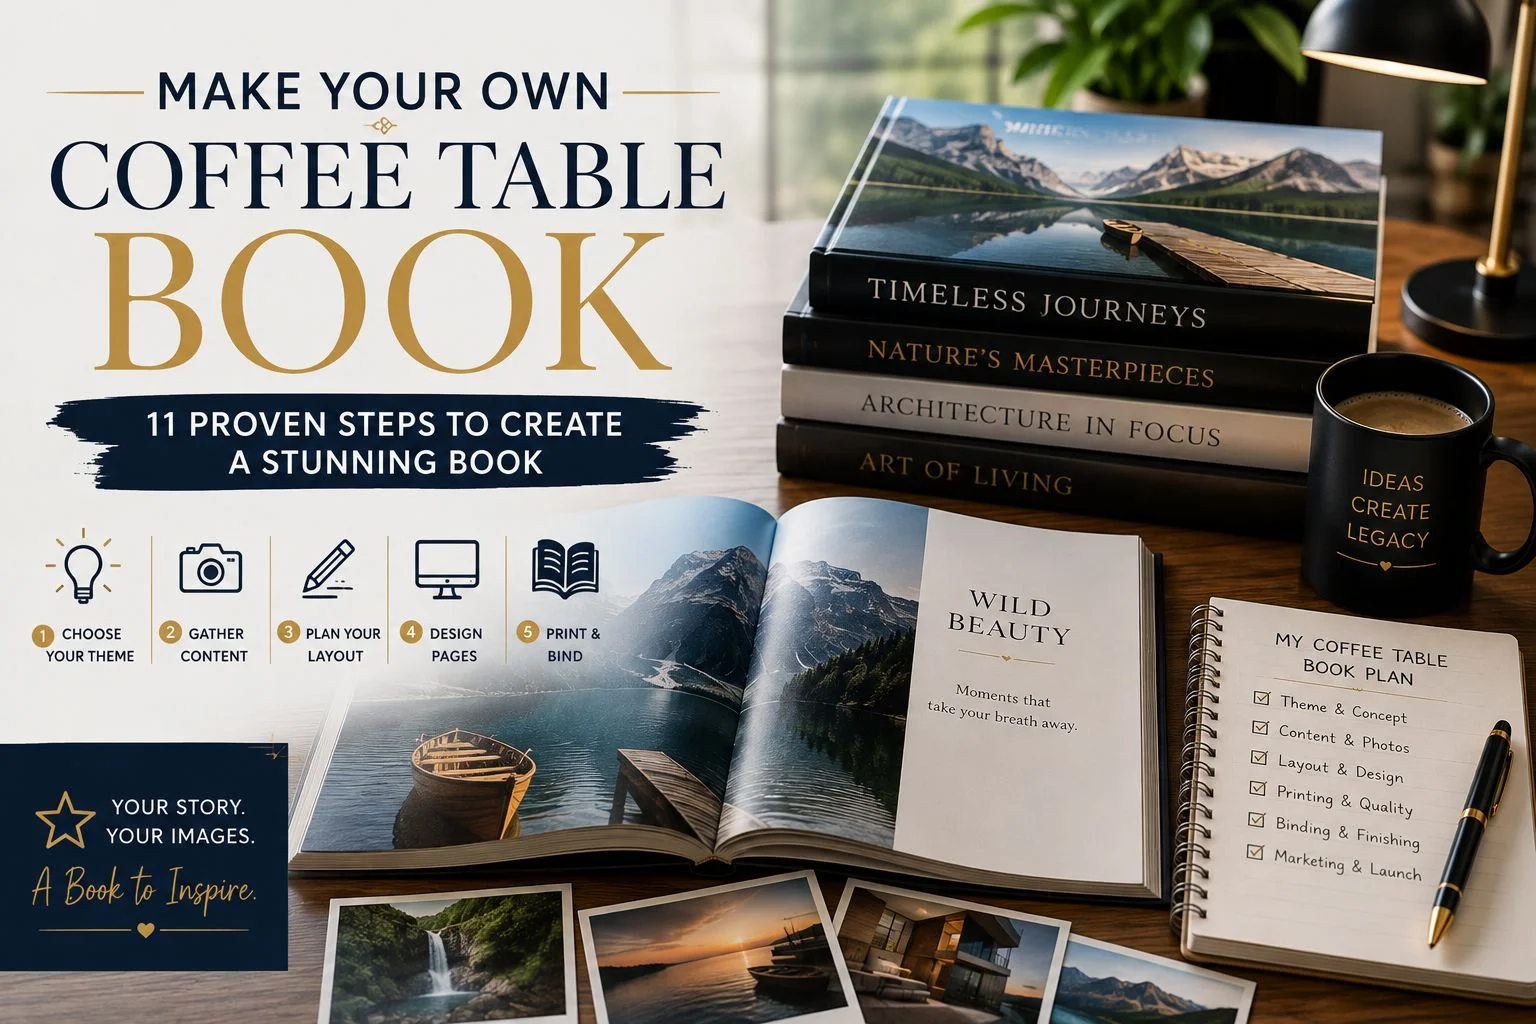
Make Your Own Coffee Table Book: 11 Proven Steps to Create a Stunning Book
Creating a beautiful coffee table book can be an exciting creative project. You do not need to be a professional author to begin. You only need a clear idea, good images, and a simple plan. A well-made book can preserve memories, showcase your work, or tell a visual story. It can also become a meaningful gift or professional portfolio. The key is to avoid rushing through the early stages. Good planning makes the design, printing, and publishing stages much easier. In this first part, we will cover the first six steps. You will learn how to choose your concept, collect images, plan pages, write content, select a size, and design the interior.
What Makes a Coffee Table Book Special?
A coffee table book is different from a traditional book. Its main purpose is often visual storytelling. Large photographs, artwork, and attractive layouts usually play a major role. Readers may enjoy the book without reading every word. The images should therefore communicate the main story clearly. Text should support those images rather than overpower them. This balance gives the book its relaxed and premium feel. It also makes the book enjoyable for casual browsing. People can pick it up, explore a few pages, and return later.
You can create a coffee table book about almost anything. Travel, photography, food, fashion, architecture, nature, and history are popular choices. You can also create one about your family or personal journey. Businesses can use books to showcase projects and achievements. Artists can present their work through carefully arranged visual collections. Photographers can turn their favorite images into a professional portfolio. The subject matters less than the story behind it. A clear purpose gives every image and page a reason to exist.
Step 1: Choose a Strong Coffee Table Book Concept
The first step is choosing a clear concept for your book. Your concept should explain what the book is about. It should also give you direction during the creative process. Start by asking yourself what you want to share. Think about the story, experience, or subject you want readers to explore. Then consider why someone would enjoy seeing that story. This simple question can help you create a stronger idea. It can also prevent your book from becoming a random image collection.
For example, imagine you love photographing historic buildings. You could create a book about old buildings in your city. Another idea could focus on modern architecture around the world. You could also combine photographs with short historical descriptions. Each option creates a different reading experience. The best concept should match your strongest material. It should also match the audience you want to reach. When these elements work together, your project becomes much easier to develop.
Define Your Target Audience
Knowing your audience can improve every part of your book. Think about the people who will enjoy your subject most. A travel book may target travelers and photography lovers. A family book may focus on relatives and future generations. An art book may appeal to collectors and creative professionals. A business book may target clients, partners, or investors. Once you know your audience, design choices become easier. You can select images and language that fit their expectations.
Your audience can also influence the book’s physical format. A luxury art book may benefit from a large hardcover. A family memory book may need a more affordable option. A photography portfolio may need large pages for detailed images. A business presentation book may need a professional and clean appearance. These choices should support the purpose of your project. Do not choose them simply because another book uses them.
Create a Simple Book Concept Statement

A concept statement can keep your project focused. It does not need to sound formal or complicated. Write two or three sentences explaining your book. Mention the subject, audience, and main purpose. For example, you might write this:
“This book celebrates the hidden beauty of historic streets. It combines photography with short stories about each location.”
That statement can guide your decisions later. If an image does not support the idea, reconsider using it. If a chapter feels unrelated, review its purpose. Your concept becomes a useful filter for the entire project. This is especially helpful when you have hundreds of photographs. It keeps the book focused instead of overwhelming readers.
Step 2: Collect and Organize Your Images
Images are often the most important part of a coffee table book. Your photographs should therefore receive careful attention. Start by gathering every image you may want to use. Do not make final selections immediately. First, create a complete collection of possible images. Then begin removing weak, repeated, or unrelated photographs. This process helps you see the full range of available material. It also makes your final selection more intentional.
Look for images with different purposes. Some photographs can introduce a chapter. Others can provide important details or emotional moments. A few powerful images can work as full-page features. Smaller images can help connect different parts of the story. Try to create visual variety without losing consistency. Readers should feel that every image belongs to the same book. This creates a more professional experience.
Choose Quality Over Quantity
One of the biggest mistakes is adding too many photographs. Having hundreds of images does not mean you need hundreds of pages. Repeated images can quickly make a book feel boring. Instead, choose photographs that offer something different. Look for changes in location, subject, angle, color, mood, or emotion. Each image should earn its place on the page. If two images tell the same story, keep the stronger one.
When you create a coffee table book, think about the complete visual journey. A photograph can be beautiful alone but weak within the sequence. Another photograph may become powerful because of what comes before it. This is why image selection should happen as a group. Place possible photographs beside each other and compare them. Look for natural connections between neighboring pages. This process can transform separate images into a unified story.
Check Image Resolution
High-quality images are essential for professional printing. Large pages can make low-resolution photographs look soft. Blurry images can reduce the quality of the entire book. Before designing your pages, check the resolution of your files. Many professional printing projects use around 300 DPI for images. However, always follow your printer’s exact requirements. Different printers may have different technical specifications.
Keep your original photographs stored safely. Create working copies for editing and layout. This protects your original files from accidental changes. You should also create regular backups of your project. Cloud storage and external drives can provide additional protection. Losing high-quality photographs after months of work can be frustrating. Good file management prevents that problem.
Organize Your Images Into Folders
Organization saves a surprising amount of time. Create folders based on chapters, locations, or themes. For example, you could use folders called:
- Introduction
- Chapter One
- Chapter Two
- Portraits
- Landscapes
- Details
- Closing Images
Use simple and consistent file names. Avoid names such as “IMG_8374” when possible. A name like “Paris_EiffelTower_Sunset” is much easier to find. Good organization becomes especially important during revisions. You may need to replace one photograph weeks later. A clear system helps you find the right file quickly.
Step 3: Plan Your Book Structure
Once your images are organized, plan the book structure. Do not begin designing individual pages immediately. First, decide how the complete book should flow. Think about the beginning, middle, and ending. The opening should create interest and establish the subject. The middle should develop the main story. The ending should leave readers with a satisfying final impression.
You can create a simple page map before opening your design software. Write down what you expect to place on each page. You can use rough notes instead of finished text. Mark pages that need large photographs. Also mark pages that may contain captions or longer descriptions. This creates a basic roadmap for your project. You can change it later as the design develops.
Plan Your Chapters

Chapters can make a large visual collection easier to explore. Each chapter should have a clear theme or purpose. For example, a travel book might have chapters for different cities. A photography book might use themes such as People, Places, and Details. A family book might follow different periods of family history. Your chapter structure should feel natural for your subject.
Avoid creating too many small chapters. Frequent changes can make the book feel disconnected. Instead, group related material into meaningful sections. Each chapter should contain enough content to feel complete. You can use chapter-opening pages to create visual breaks. A strong opening photograph can also introduce each section. This approach creates rhythm throughout the book.
Create a Rough Page Count
You do not need an exact page count immediately. Start with an estimated range. Your final page count will depend on your images and design. The printing method may also influence available page counts. Some printing systems have specific page requirements. Check those requirements before finalizing your layout.
A rough page count also helps with budgeting. More pages usually mean higher production costs. Large books may also require more expensive shipping. Knowing your approximate length helps you request better printing quotes. It also helps you decide whether certain content should stay. A clear plan prevents your project from growing without control.
Step 4: Write Simple and Meaningful Content
A coffee table book usually does not need long blocks of text. The images should remain the main attraction. However, thoughtful writing can give readers useful context. Captions can explain who, what, where, and when. Short introductions can explain the purpose of a chapter. Personal stories can add emotion to family and travel books. The key is keeping your writing useful and easy to read.
Write as if you are talking to an interested reader. Avoid complicated words when simple words work better. You do not need to sound overly formal. A natural voice often makes a visual book more enjoyable. Read each paragraph aloud after writing it. If a sentence feels awkward, rewrite it. Good writing should support the images without competing with them.
Write Captions That Add Value
Captions should provide information that the image cannot show. Avoid simply describing what readers can already see. Instead, add context, history, location, or personal meaning. For example, do not write “A sunset over the beach.” You could explain when you took the photograph. You might also mention why that location matters. This gives readers another reason to pause on the page.
Keep captions consistent throughout the book. Use the same style for dates and locations. Decide whether captions will use complete sentences. Then follow that choice across every chapter. Consistency makes the book feel more professional. It also helps readers understand information quickly.
Write Chapter Introductions
Chapter introductions can prepare readers for the next section. They do not need to be long. A short paragraph can explain the theme and create interest. You can also use a meaningful quote when appropriate. However, avoid filling pages simply because space is available. Empty space can sometimes create a stronger visual effect.
If your book tells a personal story, be honest. Readers connect with genuine experiences and specific details. Explain what makes the subject meaningful to you. Avoid using exaggerated language to make ordinary moments sound dramatic. Simple, honest storytelling often feels more powerful. Your personal perspective can become one of the book’s strongest features.
Step 5: Select the Right Book Size
The physical size of your book can change its entire appearance. Coffee table books are often larger than standard novels. Larger pages give photographs more space to shine. However, bigger does not always mean better. A very large book can become heavy and difficult to handle. Think about how readers will use and display your book. The ideal size should balance beauty and practicality.
Landscape formats work especially well for wide photographs. They can suit travel, architecture, nature, and landscape photography. Square formats can create a modern and balanced appearance. They can also work well for mixed photographs. Portrait formats are useful for vertical photographs, portraits, and artwork. Choose the format that supports your subject naturally.
Consider Where the Book Will Be Displayed

Think about the physical space where your book will live. A book designed for a living room table may need a different size. A gallery portfolio may benefit from larger pages. A business presentation book may need a compact format. Consider whether readers will carry it often. Also think about shelf storage and shipping requirements.
The size should also match your budget. Larger books usually require more paper and packaging. Shipping may also become more expensive. Ask your printer about available standard sizes. Standard sizes can sometimes reduce production costs. Custom sizes can provide more creative freedom. Compare both options before making your final decision.
Check the Spine Requirements
The spine becomes important when your book has enough pages. Its width depends on several production factors. These include page count, paper thickness, and binding method. Your printer can calculate the correct spine width. Do not guess this measurement yourself. An incorrect spine can cause problems during production.
This is especially important for a hardcover project. The cover file must include the front, spine, and back. The printer may provide a complete cover template. Use that template rather than creating dimensions from memory. Following the template can prevent costly cover errors.
Step 6: Design an Attractive Interior
Now you can begin turning your plan into actual pages. Interior design should make the book easy to explore. Start with a consistent grid and clear margins. Decide how images, captions, and headings will align. Then create a few sample pages before designing everything. These sample pages become your visual style guide. You can adjust the style before spending hours on the complete book.
A strong design uses repetition and variation together. Repetition creates consistency across the book. Variation keeps readers interested as they turn pages. For example, one page can use a full-page image. The next spread can combine two or three smaller images. Another spread can include a photograph with a short story. This creates movement while keeping the overall design connected.
Use White Space Effectively
White space is not wasted space. It gives photographs room to breathe. It also makes text easier to read. Crowded pages can make even beautiful images feel less impressive. Give important photographs enough surrounding space. This helps readers focus on the main visual element.
Do not feel pressured to fill every empty area. A clean page can look more expensive than a crowded one. Empty space can also create pauses between chapters. Think of white space as part of your design. Use it intentionally rather than treating it as a problem.
Choose Simple Typography
Typography should support your photographs. Choose fonts that are easy to read. Using one or two fonts is often enough. You can create variety through different sizes and weights. Avoid using many decorative fonts on the same page. Too many styles can make the book look unprofessional.
Create a simple typography system before completing the book. Decide how chapter titles will look. Choose a style for body text and captions. Set consistent sizes and spacing. Then use those choices throughout the book. This makes the entire design feel connected.
Keep Margins and Bleed Consistent
Professional coffee table book printing requires careful file preparation. Your printer will usually provide bleed and margin specifications. Bleed allows artwork to extend beyond the final trim line. This helps prevent unwanted white edges after trimming. Safe margins protect important text and details from being cut.
Never rely on guesswork for these measurements. Ask your printer for exact specifications. If they provide a template, use it. Check every page before exporting your final file. Small technical mistakes can create expensive production problems. Careful preparation makes the printing stage much smoother.
Part 1: Your First Six Steps Are Complete
At this stage, your project should have a clear direction. You should know what your book is about and who will read it. Your strongest images should be selected and organized. You should also have a rough structure and page plan. Your written content should support the visual story. Finally, you should have a suitable book size and interior design style.
Do not rush into printing yet. The first six steps create the foundation for everything that follows. A strong foundation makes later production much easier. Take time to review your concept and sample pages. Ask someone you trust to look at the project. Their feedback may reveal areas that need improvement. It is much easier to make changes now than after printing.
Make Your Own Coffee Table Book: 11 Proven Steps to Create a Stunning Book
In Part 1, we covered the first six steps of creating a coffee table book. We discussed your concept, audience, images, structure, writing, size, and interior design. These early decisions create the foundation for your complete project. Now it is time to move toward production and publishing. Part 2 covers the final five steps in detail. You will learn how to create your cover, choose printing options, review proofs, select a publishing path, and promote your finished book. By the end, you will have a practical roadmap for turning your design into a finished book.
Step 7: Create a Stunning Cover
Your cover is the first thing people notice about your book. It should immediately communicate the subject and mood. A strong cover can make someone curious about the pages inside. A weak cover can make even excellent content feel less appealing. Therefore, give your cover the same attention as your interior. Start with one strong image that represents your main idea. Avoid adding too many photographs or decorative elements. A clean design often creates a stronger first impression.
Your title should be easy to read at a glance. Choose a font that matches the subject and design. Make sure the title stands out against the background image. If the image contains many details, consider adding a subtle text area. You should also consider how the cover will look online. Many people will first see a small thumbnail of your book. The title and main visual should remain clear at that size. This matters when promoting your book on websites and social platforms.
Design the Front Cover
The front cover should focus on one clear visual message. Your main photograph should represent the book’s central theme. For a travel book, this might be a memorable location. For a photography book, it could be your strongest image. For a family book, it could be a meaningful photograph. Choose an image that creates emotion or curiosity. Avoid using a photograph simply because it has high resolution. The image should also have a strong connection to your story.
Keep the title placement consistent with your overall design. You can place it at the top, center, or bottom. The best position depends on the photograph. Make sure important parts of the image remain visible. Check the cover at both full size and thumbnail size. This simple test can reveal readability problems quickly.
Design the Spine
The spine becomes an important part of the finished book. It is especially useful when your book sits on a shelf. Include the title and author name when there is enough space. Keep the text centered and easy to read. The spine width depends on your page count and paper choice. Your printer should calculate the final measurement for you. Never guess the spine width when preparing the final cover.
Hardcover books often require more detailed cover templates. The cover may include wrap areas around the front and back. Your printer should provide exact measurements for these sections. Follow their template carefully. Even a small measurement error can affect the final cover. Always review the completed cover before sending it for production.
Create the Back Cover
The back cover can provide helpful information about the book. You might include a short description or author introduction. You can also add a website or contact information when appropriate. Avoid filling the entire back cover with text. Leave enough visual space to maintain a premium appearance. Your back cover should feel connected to the front cover.
You can also include a short statement about the book’s purpose. Explain what readers will discover inside. Keep this message concise and interesting. Avoid giving away the complete story. Your goal is to encourage people to open the book. A strong back cover should create curiosity.
Step 8: Choose the Right Printing Method
Once your design is complete, you need to decide how to print it. Several printing options are available today. Digital printing works well for many small and medium projects. Offset printing can become more useful for larger quantities. Print-on-demand can reduce the need for storing inventory. Each method has different advantages, costs, and production requirements. Your choice should match your goals and expected sales.
Start by deciding how many copies you need. If you are making a personal book, you may need only a few copies. A business project may require a larger quantity. A commercial release may require hundreds or more copies. Ordering more copies can reduce the cost per book. However, large orders also require more money upfront. Consider your budget and expected demand before ordering.
Compare Coffee Table Book Printing Providers
Do not choose a printer based only on the lowest price. Print quality is extremely important for visual books. Request samples whenever possible. Examine the paper, colors, image sharpness, binding, and cover finish. Turn through the sample and check how the pages feel. A physical sample can reveal differences that websites cannot show.
When comparing coffee table book printing services, ask detailed questions. Find out what paper options are available. Ask about hardcover and paperback binding. Confirm whether color proofing is included. Ask about minimum quantities and production times. Also ask how shipping is calculated. These details help you compare quotes accurately.
Compare Coffee Table Book Manufacturers
A manufacturer may offer more than basic printing. Some companies can provide binding, finishing, packaging, and fulfillment. Others may offer design or prepress services. When comparing coffee table book manufacturers, understand exactly what each company provides. Ask whether you can approve a physical proof. Confirm what happens if a production problem occurs.
Experience also matters when choosing a manufacturer. Ask whether they have produced similar visual books. You can request examples of previous projects. This helps you judge whether their equipment suits your needs. A company experienced with large-format books may understand your requirements better. However, always evaluate actual samples rather than relying only on claims.
Consider Custom Coffee Table Book Printing
Custom coffee table book printing gives you greater control. You can choose the size, paper, binding, cover, and finish. This can be useful for premium photography and art books. It can also work well for personal memory books. You can create a physical product that matches your creative vision.
Custom production may cost more than standard options. However, the additional control can be worthwhile for special projects. Discuss your requirements with the printer before finalizing your design. They may suggest materials that improve the finished product. They can also warn you about production limitations. Early communication can prevent costly changes later.
Step 9: Order and Review a Physical Proof
Never rush from digital design directly to a large print order. A proof gives you a chance to inspect the physical result. Screen colors can look different from printed colors. Images may also appear darker or lighter than expected. Paper texture can change the appearance of photographs. A proof allows you to see these differences before full production.
Review the proof from the first page to the last. Do not focus only on the cover. Check every photograph, caption, heading, and page number. Look carefully at the margins and image placement. Make sure nothing important sits too close to the trim edge. Check the spine and back cover as well. Write down every correction before requesting another version.
Check Image Quality
Look closely at photographs during the proofing stage. Check whether faces and small details remain sharp. Look for unexpected pixelation or blurry areas. Dark images can sometimes lose important details during printing. Bright colors can also appear different from your digital file. If something looks wrong, ask your printer about it.
Do not assume a problem will disappear during final production. If you see an issue in the proof, investigate it first. Your printer may recommend changing the image or color settings. They may also suggest a different paper. Solving the problem before mass production can save significant money.
Proofread Every Page
A beautiful book can still lose credibility because of simple errors. Check spelling, punctuation, names, dates, and locations. Review chapter titles and captions carefully. Also check page numbers and any website addresses. Ask another person to proofread the physical proof. Fresh eyes can find mistakes you missed during the design stage.
Read the text naturally rather than scanning it quickly. Slow reading makes small errors easier to notice. You should also check whether the text remains comfortable to read. Some captions may look fine on your monitor but feel too small in print. Adjust anything that feels uncomfortable before final approval.
Step 10: Choose Your Publishing Path
After your book is ready, you need to decide how to publish it. You can self-publish the project or work with a publishing company. Each approach has different advantages. Your choice should depend on your budget, goals, experience, and desired control. Take time to understand both options before making a commitment.
Traditional publishing can provide professional support and distribution. However, traditional publishers may be selective. They may also require proposals, submissions, or agents. A publisher may control some creative and business decisions. Read the agreement carefully before accepting an offer. Make sure you understand rights, royalties, fees, and responsibilities.
Explore Coffee Table Book Publishing Companies
Coffee table book publishing companies can provide different levels of support. Some offer complete publishing services. Others specialize in printing and distribution. Some may focus on specific subjects such as art, travel, or photography. Research each company’s previous books before contacting them.
Look at their production quality carefully. Examine their covers, paper, photography, and layouts. Check whether their published books resemble the quality you want. Also research their author terms and publishing process. A professional company should explain its services clearly. Be cautious when important information is difficult to find.
Understand Coffee Table Book Publishing Contracts
Never sign a publishing contract without understanding it. Pay attention to copyright and publishing rights. Check how long the agreement lasts. Understand whether rights are exclusive or non-exclusive. Review royalty percentages and payment schedules. Also look for clauses involving printing costs and marketing obligations.
If you are unsure about a legal term, ask for clarification. You can also seek professional legal advice when needed. A contract can affect your work for years. Therefore, rushing through the agreement is not worth the risk. Make sure you understand what you are giving and receiving.
Self Publish Coffee Table Book Projects
Self-publishing gives you more control over your project. You can choose the printer and design style yourself. You can also decide your price and marketing strategy. This approach can work especially well for personal and niche books. You can print a small quantity and test reader interest. Then you can order additional copies when demand grows.
When you self publish coffee table book projects, you manage more responsibilities. You may need to handle editing, design, printing, storage, sales, and delivery. You also need to promote the book yourself. Good planning makes these tasks easier. You can also hire professionals for specific areas when necessary.
Step 11: Promote and Sell Your Finished Book
Your book is not finished when the printer delivers it. You also need to introduce it to potential readers. Start creating interest before the official release. Share behind-the-scenes photographs from the design process. Show selected pages and explain the story behind them. People enjoy seeing how creative projects develop. This type of content can make your audience feel involved.
Create a dedicated page for your book on your website. Include the cover and a short description. Add several interior photographs when possible. Show the physical book from different angles. Explain the size, page count, and printing quality. Make the purchase process simple and clear.
Use Social Media to Build Interest
Visual books are naturally suited to social media promotion. Share your strongest photographs and selected book pages. Short videos can show the book being opened and explored. Behind-the-scenes content can also perform well. Explain why you created the book. Share interesting stories about the images or research.
Do not publish every page online. Leave some content exclusive to the physical book. Your promotional images should create curiosity. They should make people want to see the complete collection. Use consistent branding across your social profiles. This helps people recognize your book when they see new posts.
Sell Through Multiple Channels
You do not have to depend on one sales channel. Your website can provide direct sales. Local bookstores may accept selected titles. Galleries may also display photography and art books. Events can create opportunities for direct sales and conversations. Online marketplaces can provide access to wider audiences.
Consider your target readers when choosing sales channels. A local history book may perform well through local stores. A photography book may suit galleries and creative communities. A business book may sell through professional networks. Match your distribution strategy to your audience. This can help you avoid wasting time and money.
How to Price Your Coffee Table Book
Pricing requires more than looking at printing costs. Add together production, packaging, shipping, platform fees, and marketing. If you hired professionals, include those costs too. Then consider the value of your book and your target market. A premium visual book may justify a higher price. However, your price should still feel reasonable to your audience.
Calculate your cost per copy carefully. If printing costs $15 per copy, that is not your complete cost. Shipping and packaging may add several more dollars. Payment processing and marketplace fees may also reduce your profit. Create a complete cost calculation before choosing your retail price.
If you plan wholesale sales, calculate that separately. Retailers usually need enough margin to make the product worthwhile. Your wholesale price must therefore leave room for both sides. Do not offer discounts without checking your actual profit. A clear pricing plan protects your business.
How to Choose the Best Coffee Table Book Publishers

Choosing a publisher should involve careful research. Start by searching for publishers with similar books. Look at their current catalog and production standards. Check whether they accept projects from new authors. Review their submission requirements carefully. A publisher that specializes in your subject may understand your audience better.
The best coffee table book publishers should communicate clearly. They should explain costs, rights, production, and distribution. Avoid companies that make unrealistic sales promises. Be especially careful when a company asks for large payments. Research whether it is a traditional publisher or a paid publishing service.
You should also review the publisher’s distribution network. Ask where the book will actually be sold. Find out whether they work with bookstores and online retailers. Ask how inventory is managed. Also ask how sales reports and royalties are provided. Clear answers can help you make a more informed decision.
Coffee Table Book Publishing: Important Final Checks
Before launching your book, review the complete project again. Confirm the final title and author name. Check the cover and spine carefully. Make sure your ISBN and other required information are correct. Review all page numbers and captions. Confirm that the final file matches the printer’s specifications.
Check your sales information before announcing the release. Make sure your product description is clear. Prepare photographs for your website and social media. Create a simple launch schedule. Decide when you will announce the book. Prepare posts and promotional materials ahead of time.
If you worked with coffee table book publishing companies, confirm every final detail. Ask when the books will be available. Confirm shipping arrangements and inventory numbers. Understand how customers can order the book. Make sure you know who handles customer questions. Clear communication can prevent confusion after launch.
Common Mistakes to Avoid Before Printing
One common mistake is approving the book too quickly. Excitement can make creators overlook small problems. Always take time to review the physical proof. Another mistake is choosing a printer based only on price. Low-cost production can sometimes compromise paper or image quality. Compare samples before making your decision.
Another mistake involves poor image preparation. Large photographs can expose quality problems quickly. Check image resolution and color settings before final export. Follow the printer’s technical instructions carefully. Do not assume that a file suitable for your screen is ready for print.
Some creators also forget about shipping costs. Large books can be heavy and expensive to ship. Include packaging and delivery costs in your budget. If you sell internationally, research those costs separately. This helps you set realistic prices.
A Simple Coffee Table Book Production Checklist
Before approving your book, review these important areas:
- Confirm the final book title.
- Check every photograph for quality.
- Confirm image resolution and color settings.
- Review every caption and paragraph.
- Check page numbers and chapter order.
- Confirm margins and bleed.
- Review the front cover.
- Check the spine measurement.
- Review the back cover.
- Order a physical proof.
- Check the proof under normal lighting.
- Confirm paper and binding choices.
- Review the final publishing agreement.
- Confirm your retail price.
- Prepare your marketing materials.
- Confirm shipping and fulfillment plans.
This checklist can help you catch problems before launch. You can also create a separate checklist for your printer. Ask the printer to confirm every technical requirement. Keeping everything documented makes communication easier. It also gives you a clear record of your final decisions.
Frequently Asked Questions
Can I make my own coffee table book without professional experience?
Yes, you can make your own coffee table book without professional experience. Modern design tools make the process more accessible. You can handle the concept, images, and writing yourself. Professional help can improve editing, design, and production. However, you can start small and learn as you progress. The most important thing is having a clear idea and good content.
How many pages should a coffee table book have?
There is no universal page count for every coffee table book. The subject, images, design, and printing method affect the final length. Some projects work well with fewer pages and larger photographs. Other projects need more pages for detailed visual storytelling. Focus on quality instead of trying to reach a specific number. Every page should add value to the reader’s experience.
What is the best printing method?
The best method depends on your project and quantity. Digital printing can work well for smaller quantities. Offset printing may suit larger commercial orders. Print-on-demand can reduce inventory requirements. Compare samples, prices, paper options, and production times. Then choose the option that fits your goals.
Is hardcover worth the extra cost?
Hardcover can provide a premium and durable appearance. It may work especially well for photography and art books. However, paperback can still provide excellent quality at a lower cost. Consider your audience and budget before deciding. Ask your printer for physical samples of both options.
Can I sell a coffee table book online?
Yes, you can sell your book through your own website. You can also explore online marketplaces and other sales channels. Social media can help bring potential customers to your sales page. Make sure your product photographs look professional. A clear description can also help customers understand what they are buying.
How can I promote a new coffee table book?
Start promoting the project before the official launch. Share behind-the-scenes content and selected images. Show the cover and a few interior pages. Create short videos showing the physical book. Explain the story behind the project. Focus your promotion on people who are likely to appreciate the subject.
Final Thoughts
Creating a coffee table book is a rewarding creative journey. The process starts with an idea and ends with something physical. You can preserve memories, showcase your work, or share a visual story. The most important part is taking the project step by step. You do not need to solve everything on the first day.
Start with your concept and audience. Then gather your best images and organize your content. Build a clear structure before designing the pages. Create a strong visual style and choose a suitable book size. After that, focus on your cover and production choices. Always review a physical proof before approving a larger print order.
Whether you choose traditional publishing or self-publishing, research matters. Compare printers, manufacturers, and publishing services carefully. Understand every cost before committing to production. Read agreements carefully and protect your publishing rights. Then create a realistic marketing plan before launch.
If you want to make your own coffee table book, start with one simple step today. Write down your idea and explain it in a few sentences. Then gather your strongest photographs in one folder. From there, build your project one stage at a time. Your finished book can become more than a collection of images. It can become a lasting visual story that people enjoy, remember, and share.
Read More: How to Submit a Book to a Publisher: 11 Proven Steps for First-Time Authors

We help authors bring their stories to life through professional online book publishing services. From manuscript formatting and cover design to Amazon KDP publishing and global distribution, we make self-publishing simple, affordable, and successful.
